

DIY Cabinet Pull

These cabinet pulls make a big impression (literally) and are super simple to make.
Supplies

Step 1 - Purchase Pre-Made Wood Panel
To start, buy an 8” Walnut Hollow wooden disc from Michael’s for $10.

Step 2 - Double Stick Tape
Lay down a few pieces of double stick tape to hold disc in place on your work surface.

Step 3 - Round The Edges
I used a 1/4” roundover bit with my router to curve the edges. Routers can be intimidating but once I finally starting using one I really enjoyed it. Just be careful as they are dangerous if you’re careless. Also, there is a pretty significant difference in costs for router bits. If you’re a casual DIY’er and not a professional, the less expensive router bits should get the job done.
If you don’t have a router, you can also sand down the edges. Use a heavy grit sandpaper (60 grit) to knock off the edges and then smooth over with a finer grit like 150 or 200. The overall process will take longer but it’s possible.

Step 4 - Sand Smooth
Sand off any burnt spots which can occur. I used 100 grit sandpaper to get the burns off and then go over the entire piece with 150 or 200 grit to make it nice and smooth.
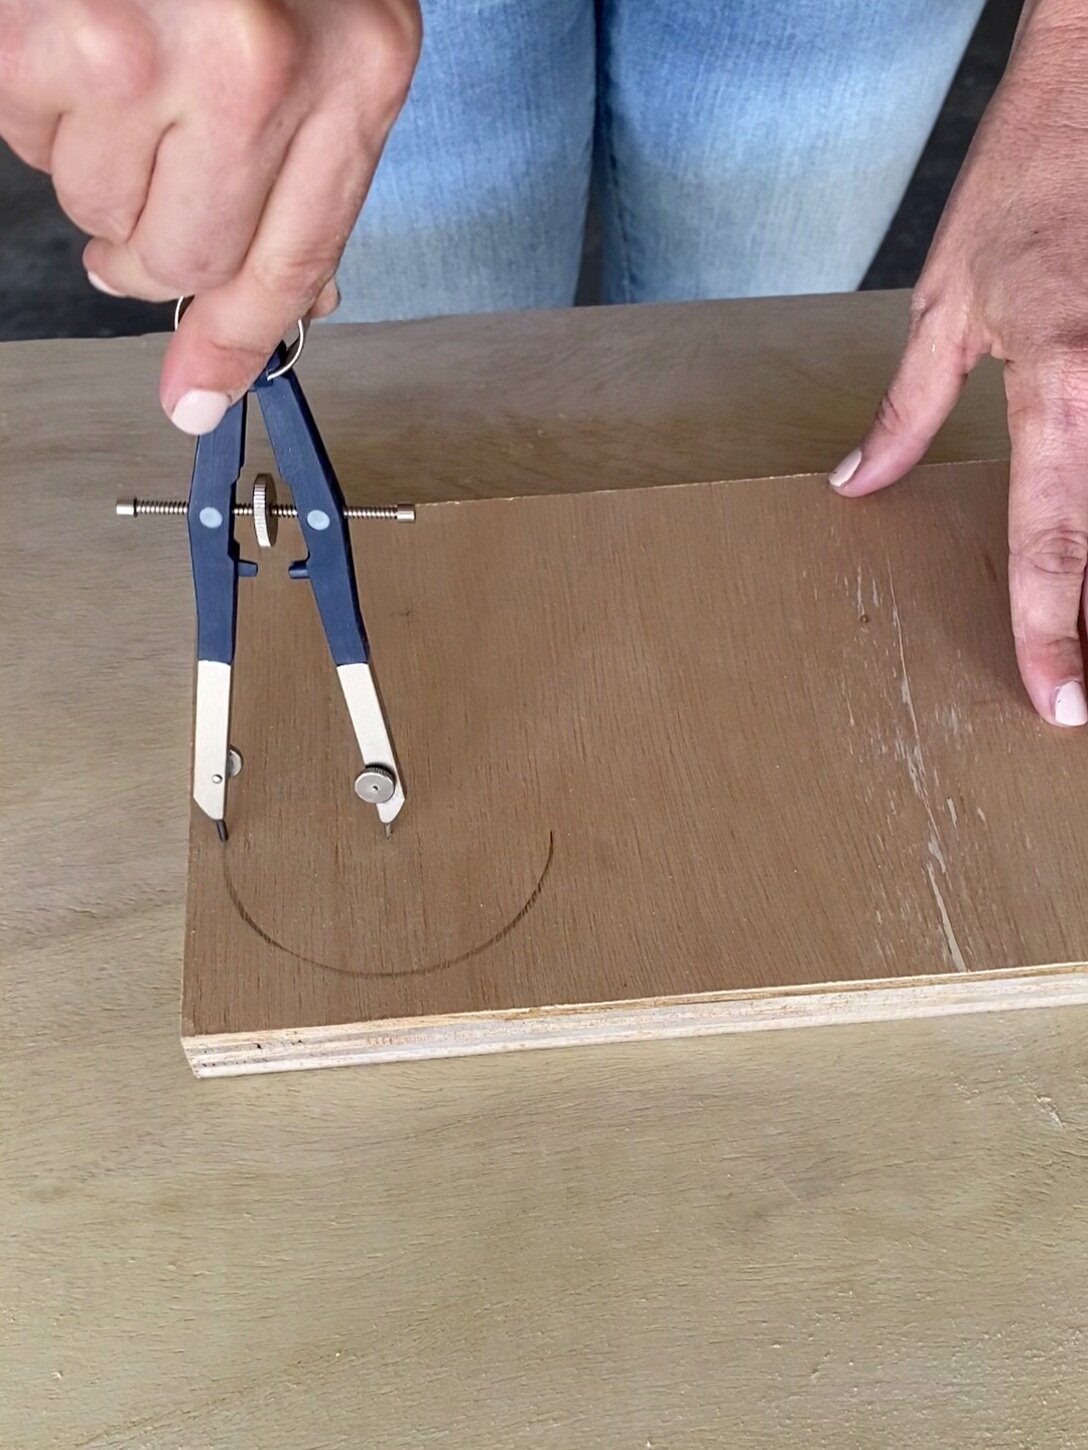
Step 5 - Make A Spacer
To make the spacer I drew a 3” diameter circle on a scrap piece of 3/4” plywood.

Step 6 - Cut Out Spacer
Use a jigsaw to cut out the spacer. It will mostly be hidden by the finished pull so it doesn’t have to be perfect.

Step 7 - Glue Spacer to Disc
Find the center of the disc and glue the spacer to the disc.

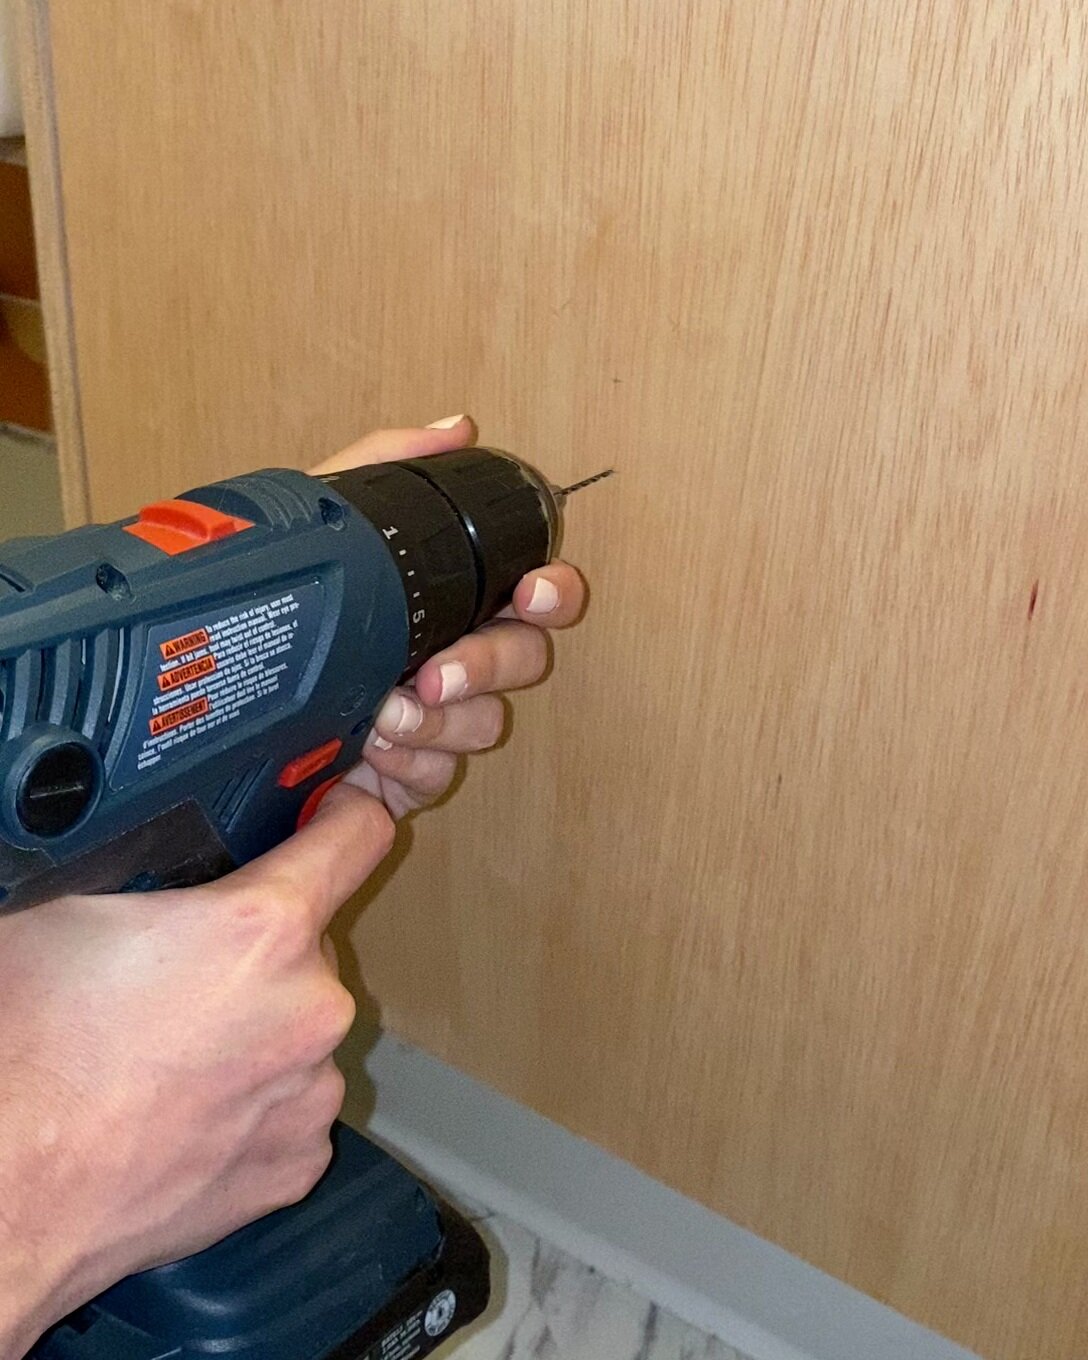
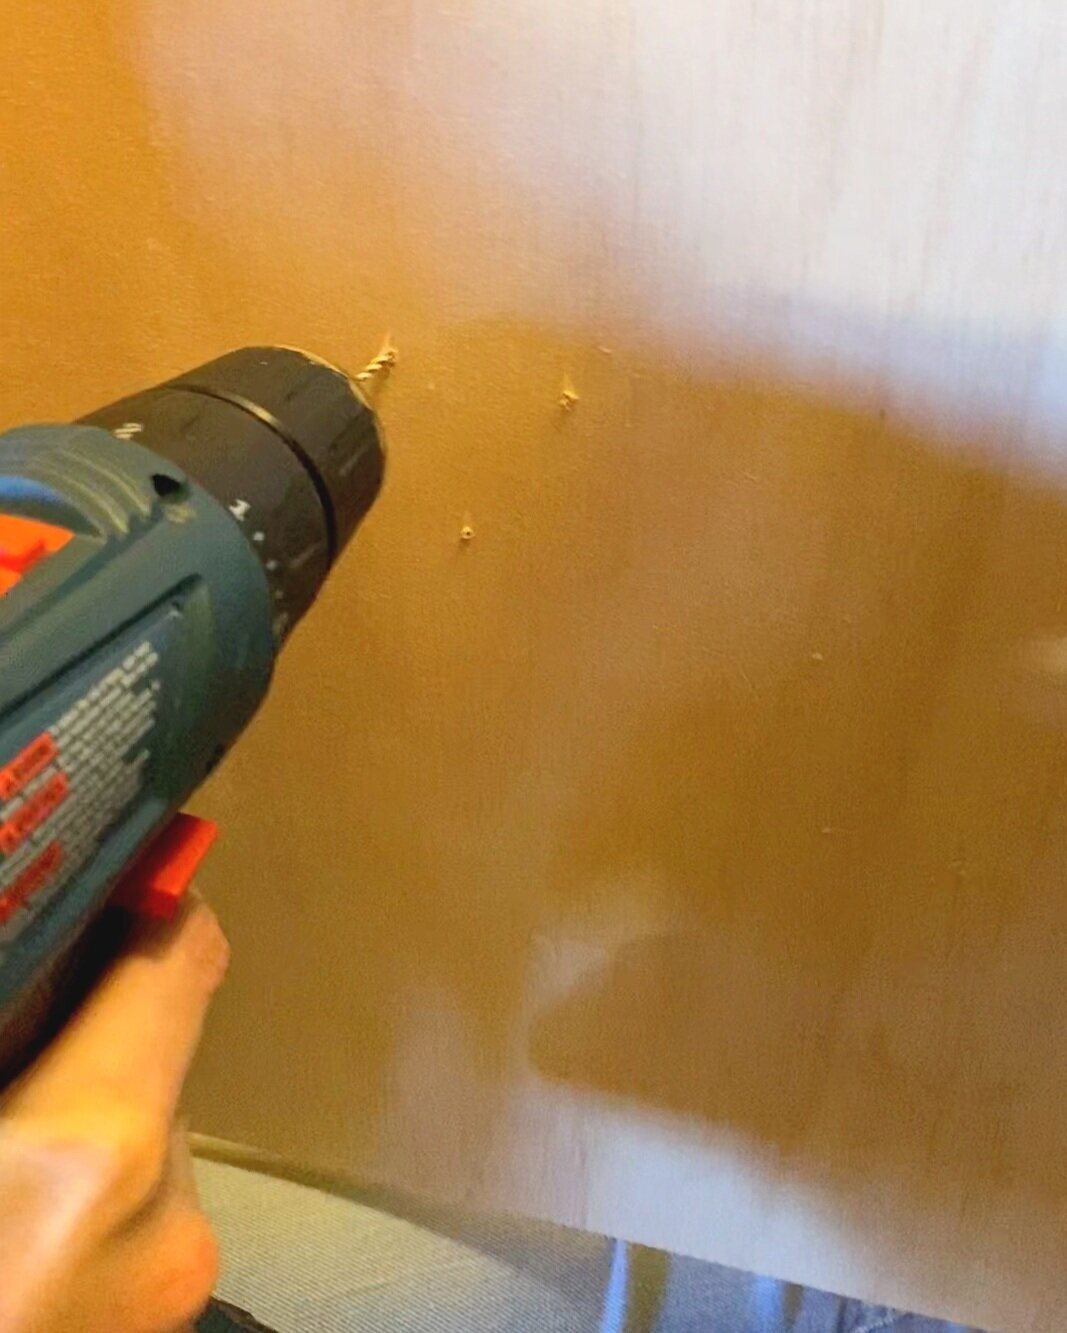
Step 8 - Drill Pilot Holes in Cabinet Door
Measure the width and length of the cabinet door to find the center point. Drill two pilot holes about 1.25” on either side of the center point.
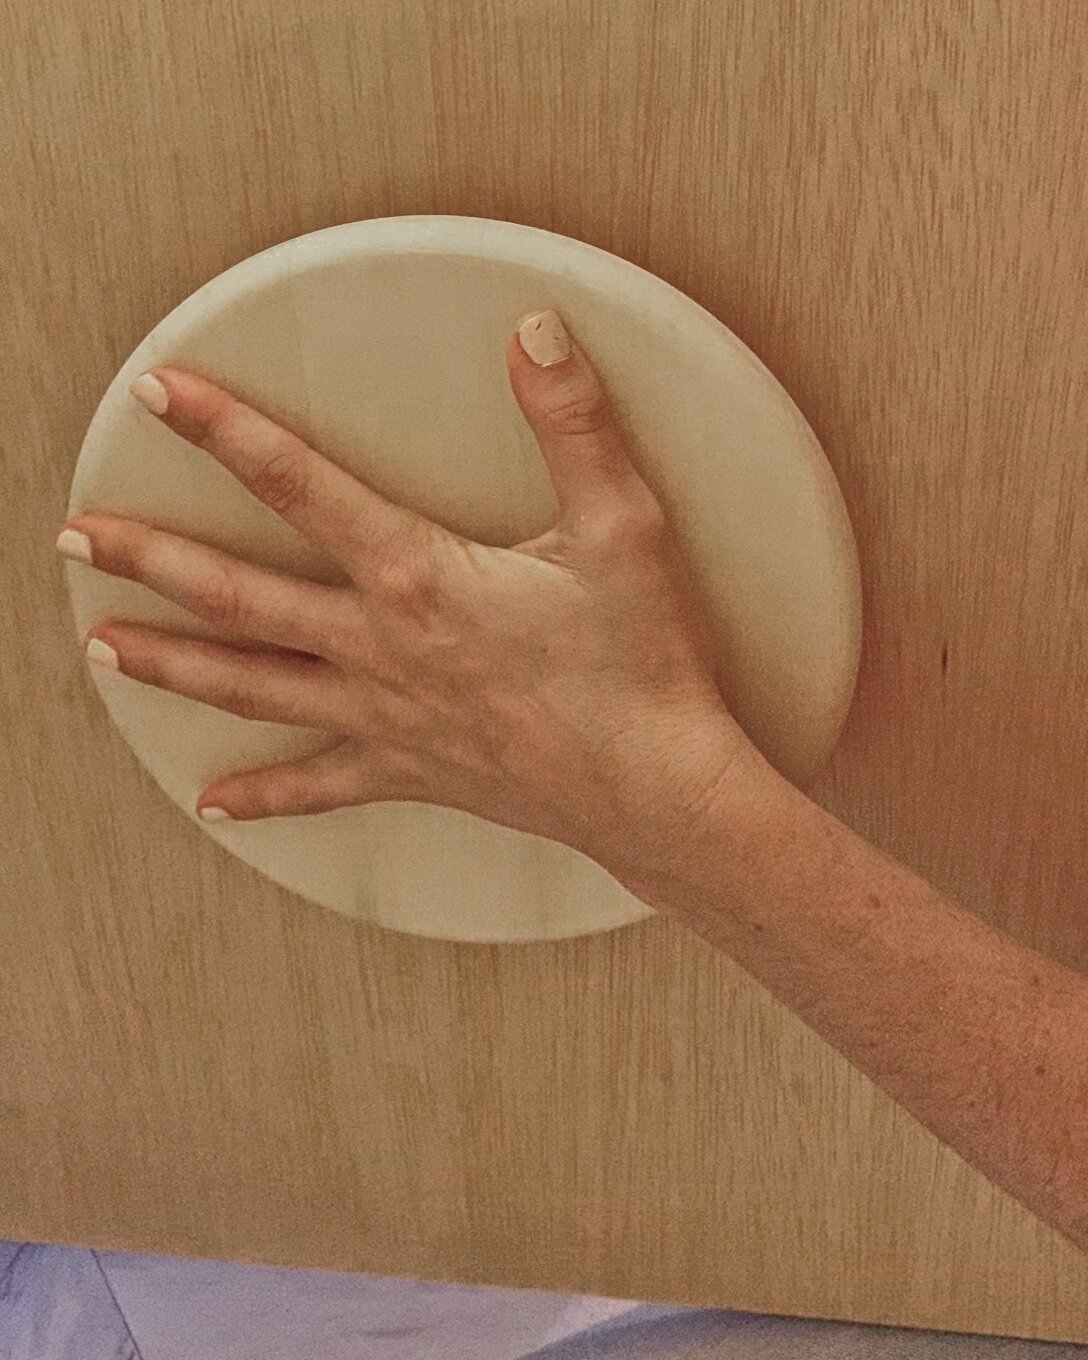
Step 9 - Drill Pilot Holes into Spacer
Use your hand or blue tape to hold the pull centered over the pilot holes. Drill holes into the spacer from the other side of the door using the pre-existing pilot holes.
Note: In retrospect, this would have been easier to do by removing the door and I initially wanted to use three screws to attach the pull to the door but decided two screws were enough.

Step 10 - Attach Pull
Screw 2” fasteners into the door just so the tips appear on the other side. Line up the pilot holes you made in the spacer of your pull and hold the pull firmly while screwing in the fasteners completely.

Finished!