Apartment Friendly Faux Tile Wall

This is a great way to add some texture to any room. It’s a pretty basic application and, of course, easily removable. You can also watch my DIY video on Instagram.
Supplies:
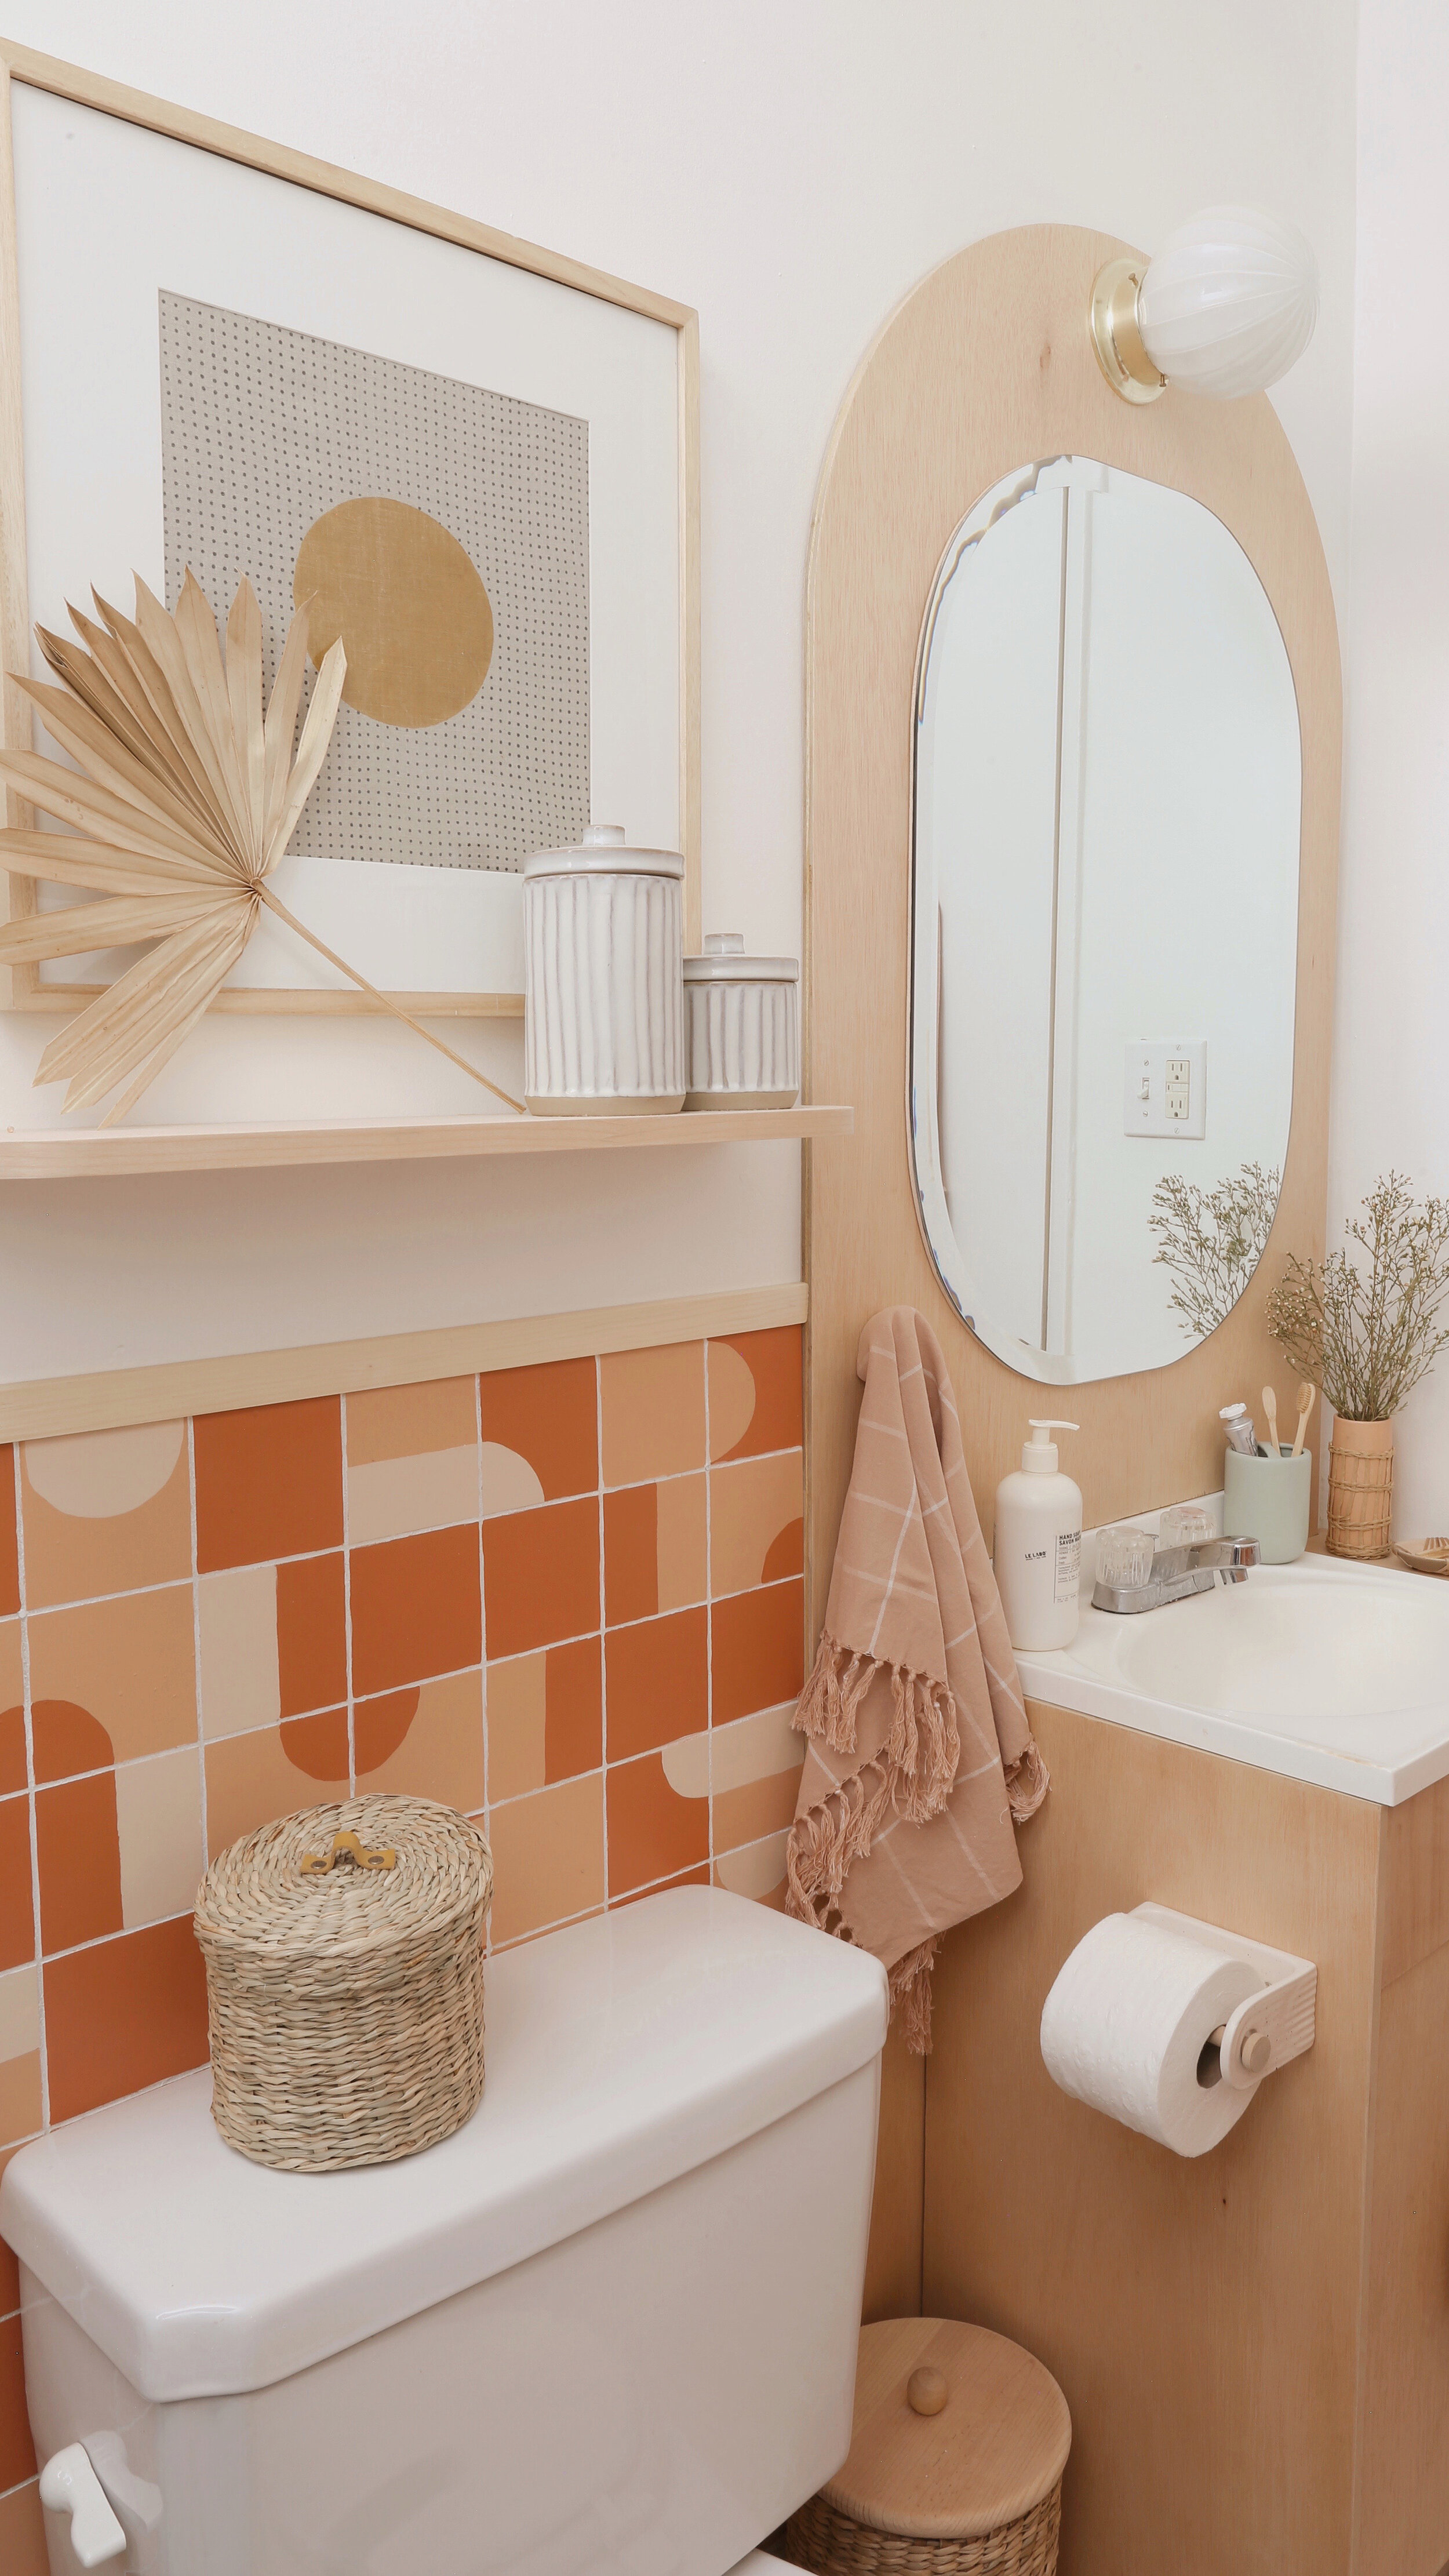
This is the little bathroom we have in our bedroom and I have to be honest, it took me forever to try to figure out what I wanted to do. Once I decided to add the faux tile panel with a painted design it helped guide everything else along.
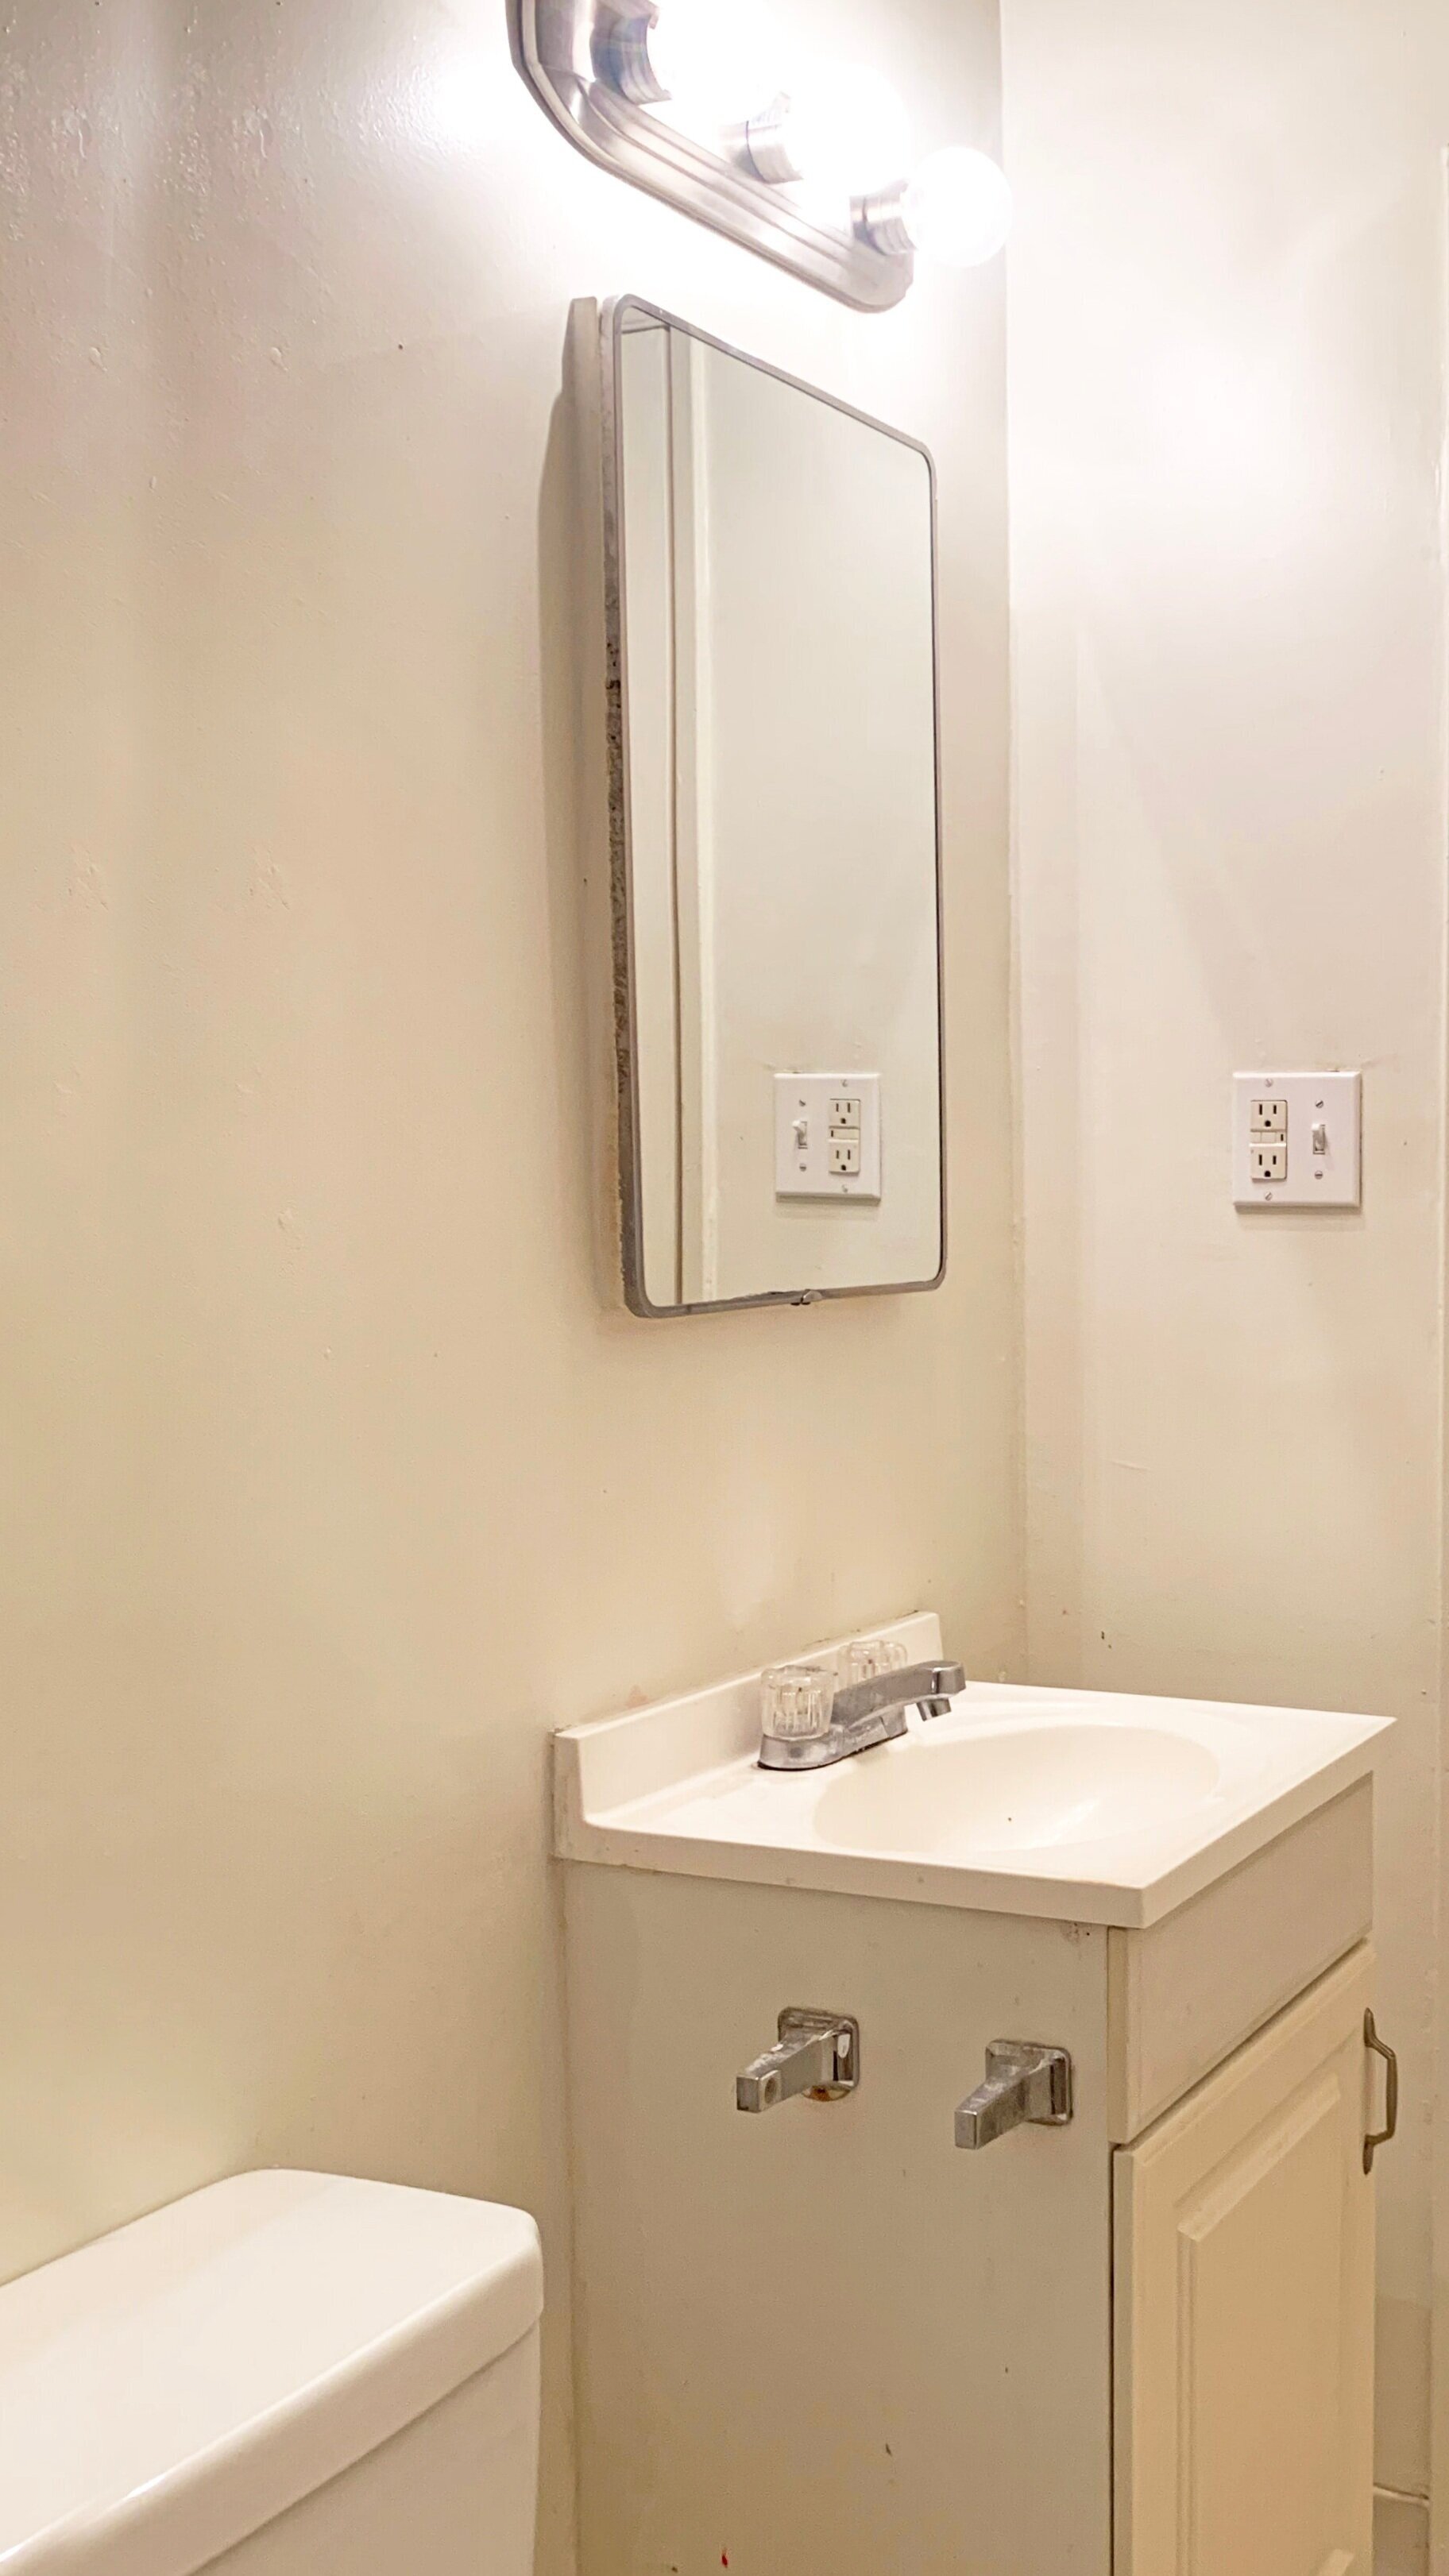
Here’s what it looked like BEFORE…

Step 1 - Measure Your Space
First thing you'll want to do is measure your space so you know how many 4’ x 8’ panels to buy. I picked up this 4 ft x 8 ft Symmetrix Faux Tile Panel from Home Depot for $63. Luckily our bathroom is pretty small so we were able to make one panel work for the two walls.
Step 2 - Cut Panels to Size
Once you have your panels, measure and cut them to size. I used a circular saw with a homemade guide but you can just as easily use a jig saw.

Step 3 - Make Sure You Have a Good Fit
As with many old apartments (and maybe new) our walls are not perfectly straight. Once we had our pieces cut we put them in place to make sure everything looked good and trimmed any necessary spots. If you’re only adding tile on the lower half of the wall like me be sure to put your cut edge down towards the floor. This will give you a nice straight edge at the top where you will add the trim.

Step 4 (Optional) - Add Grout Texture
You can add a grout detail to your tile panel with Rustoleum Stone Textured Spray Paint.
Note: After doing this I actually don’t think it was really worth the time or effort but you have the option if you like!
If you don’t want to add grout, skip to Step 7

Spray the textured paint in the grooves of the tile.

Step 5 - Scrape Off Excess Paint
Use a straight edge of some sort or a straight piece of scrap wood to wipe off the excess paint. This can get pretty messy but keep going until you’ve removed as much paint as possible.

Step 6 - Allow to Dry and Scrape Again
Once dry, use a putty knife or some sort of metal edge to remove any remaining paint from the face of the tiles.

Step 7 - Lightly Sand Panel
Lightly sand the tile panel to allow for better primer adhesion. You basically want to just take the shine off of the fiberglass and add a little coarseness to the surface. Any sandpaper will do but, ideally, 100 to 250 grit will get the job done quickly.

Step 8 - Apply the Primer
Next, cover the panel with primer. This is important as it gives something for your paint to stick to. If you paint directly onto the panel, without the primer, the paint could potentially peel off.

Here’s a side by side of grout vs no grout. It’s fine but honestly it wasn’t worth the effort for me.

Step 9 - Cover the Grooves with Tape
Once the primer is completely dry, cover the grooves with 1/8” tape.

Step 10 - Prepare Your Design
If you plan to paint a design on your tile panel it may be helpful to print out a template. I knew I was going to use three different paint colors so my template was very helpful in keeping my design and colors organized.

Step 11 - Transfer Your Design Outline
I used the template to copy the outline of my design onto the tile and numbered my paints. Then I just painted the areas according to the numbers.

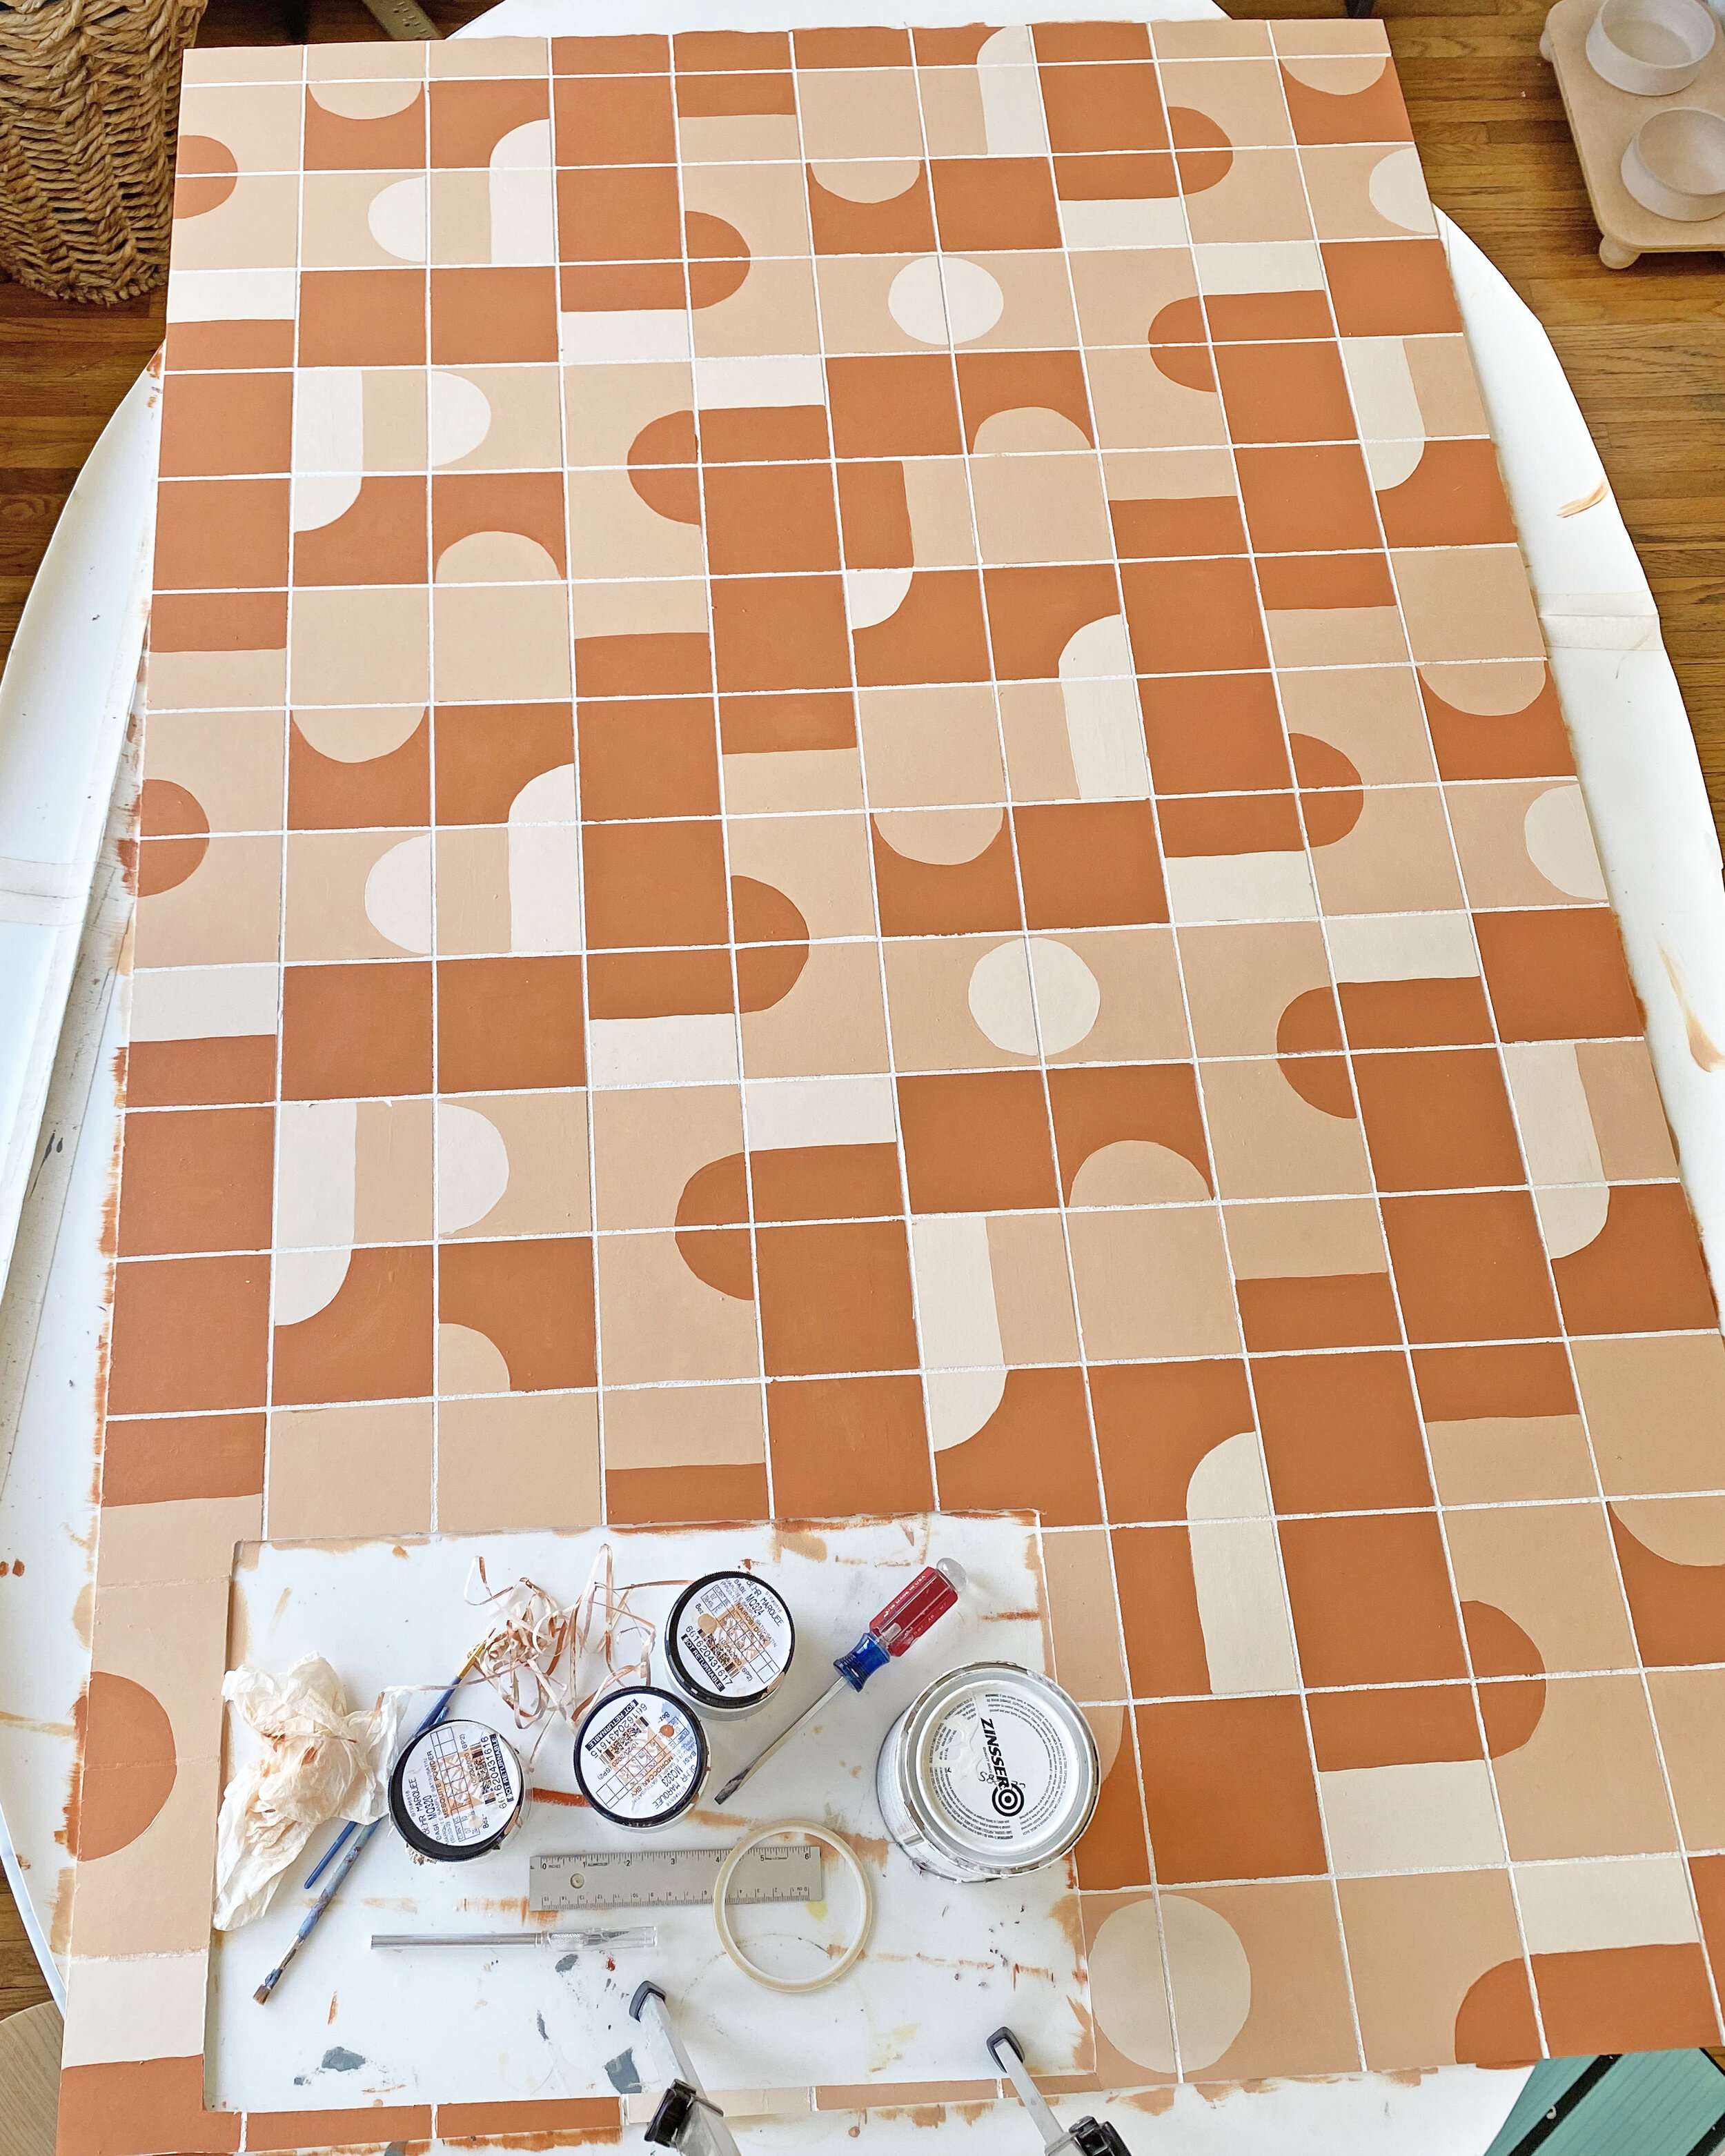
Step 12 - Paint Your Tile Panel
I worked in small, manageable sections letting the first coat dry then adding the second coat. I really loved this part. Painting the tile was so much fun and I love the way it turned out.
Step 13 - Remove The Tape (IMPORTANT)
As soon as you’re finished painting one section, slowly remove the tape. If you let the paint completely dry, you run the risk of the paint peeling as you pull up the tape. If this occurs, stop pulling the tape and use a sharp blade to carefully score the edges.

Step 14 - Apply the Polyurethane
Once you have all the tape removed it’s time to add the polyurethane. This is also important. I recommend you add 5 - 8 coats of polyurethane. Be sure to let it dry the proper amount of time between each coat before adding the next. The more coats you add the more protection the panel will have from scrapes and scratches over time.

Step 15 - Attach Tile Panel to Wall
Attach the panel with small flat head nails. You can space the nails pretty far apart as long as the panel is secure. Be careful not to sink the nails too deep as you might crack the plastic.

Step 16 - Paint the Nail Heads
Use the primer to paint the nail heads white to hide them in the grout.

Step 17 - Add the Trim
I bought some Pine Lattice Moulding from Home Depot to place at the top of the panel. Measure and cut the moulding to the length you need and attach with small Brad nails. Brad nails have tiny heads so they only make a small hole in the trim.

Use a nail punch to sink the Brad nails into the trim.

Step 18 - Cover the Nail Holes
Cover the holes in the moulding with wood filler. Once the filler is dry, sand off any excess filler until the area is smooth.


Step 19 - Apply Polyurethane to Moulding
Apply a couple of coats of polyurethane to the trim and lightly sand in between each coat.

Finished!
You can also watch the video of this DIY below!